
Page Contents
Vow of the Disciple raid guide in Destiny 2
In this Destiny 2: The Witch Queen, Vow of the Disciple raid guide, we’ll break down each encounter and show you and your team how to tackle the new raid with screenshots, photos, and examples. We’ve also included some helpful video tutorials below, which we think are awesome.
The new raid in Destiny 2, called the Vow of the Disciple is part of The Witch Queen expansion. It has players exploring a Pyramid Ship and fighting Rhulk, a disciple of The Witness.
The Payload
The first encounter of the Vow of the Disciple raid is rather simple, and if you completed the Preservation mission in Savathun’s Throne World, you should be familiar with it.
After landing with your team, destroy the projection of Savathun. Then go through the large doorway into the Disciple’s Bog. Roll up to the huge, black barge on your Sparrow. Your new best buddy is this Payload, so stay close to it.
There will be a total of nine tiny objects in the world, as well as Scorn baddies. If you stray from the payload, pick up collectibles to increase your knowledge. After you’ve gotten three of them, return to the payload. To get it going again, collect all nine items.
Every time you’re not on the payload, you’ll gradually accumulate Pervading Darkness, a debuff that will plague you for the rest of Vow of the Disciple. Your screen becomes darker and harder to see with each stack. You’ll be completely blind and dead at 10 stacks. To prevent the buff from stacking up, kill the Scorn Abominations that appear.
When you’ve finished the first area, the payload will move on to another. Ride or follow behind it. Repeat this step in six locations to have the payload park itself within the Pyramid, allowing you to go inside.
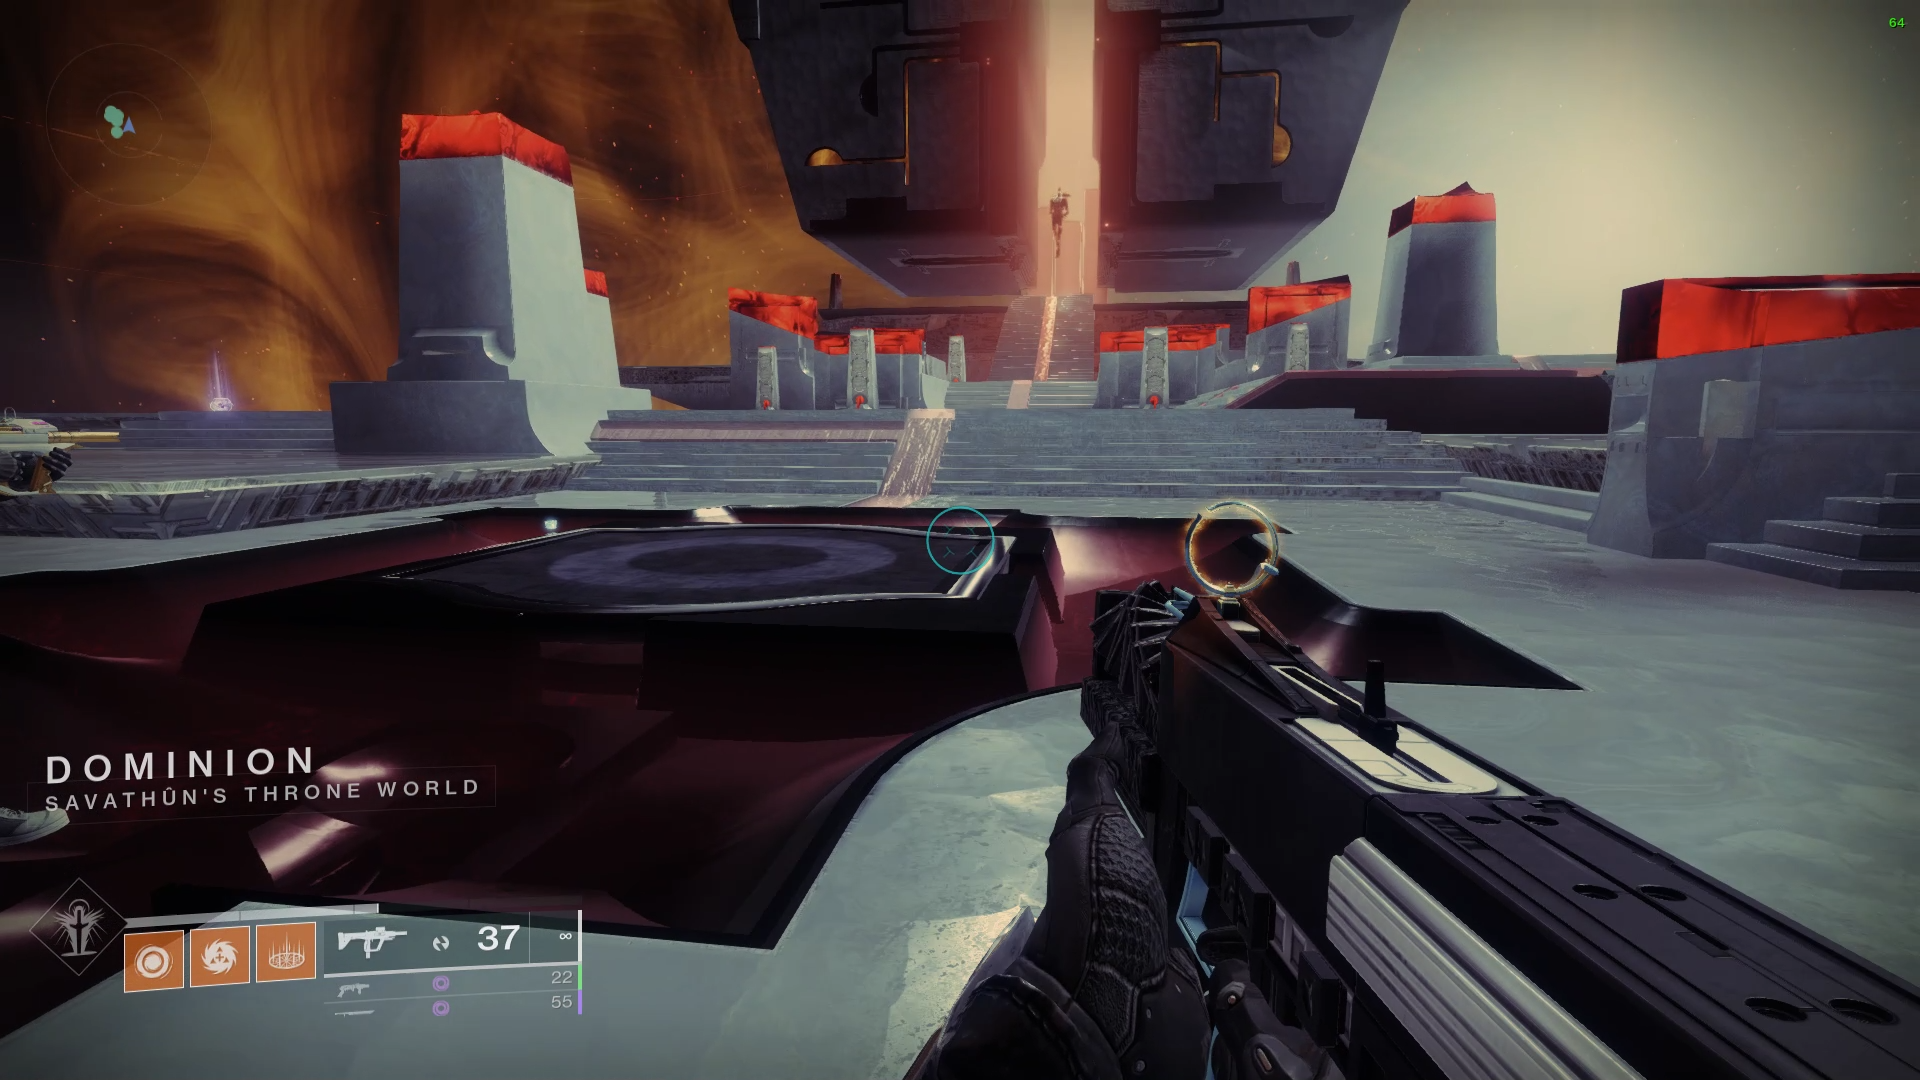
The Symbols
The first lesson in The Vow of the Disciple is all about symbols, and there are a lot of them. You’ll need to decide on callouts for 27 symbols, which you’ll use in every fight. There’s no way you can complete the raid without everyone being on the same page, so take a minute to catch everyone up.
You’ll come across these symbols in a chamber before the first genuine engagement, and you can zoom in on them to discover what Bungie refers to as them.
Of course, there’s nothing wrong with creating your own callouts entirely or a combination of both. (For example, our team calls love “Pink,” and we aren’t changing that anytime soon.) Just make sure everyone understands what symbol you’re referring to if you come up with a funny name for it.
It’s more than likely that you’ll have a wipe if someone calls Knowledge “Brain” for hours and then refers to it as “Head.” When everyone is ready to go (or has this cheat sheet on an easily viewable second screen), it’s time to get down to business with the real raid.
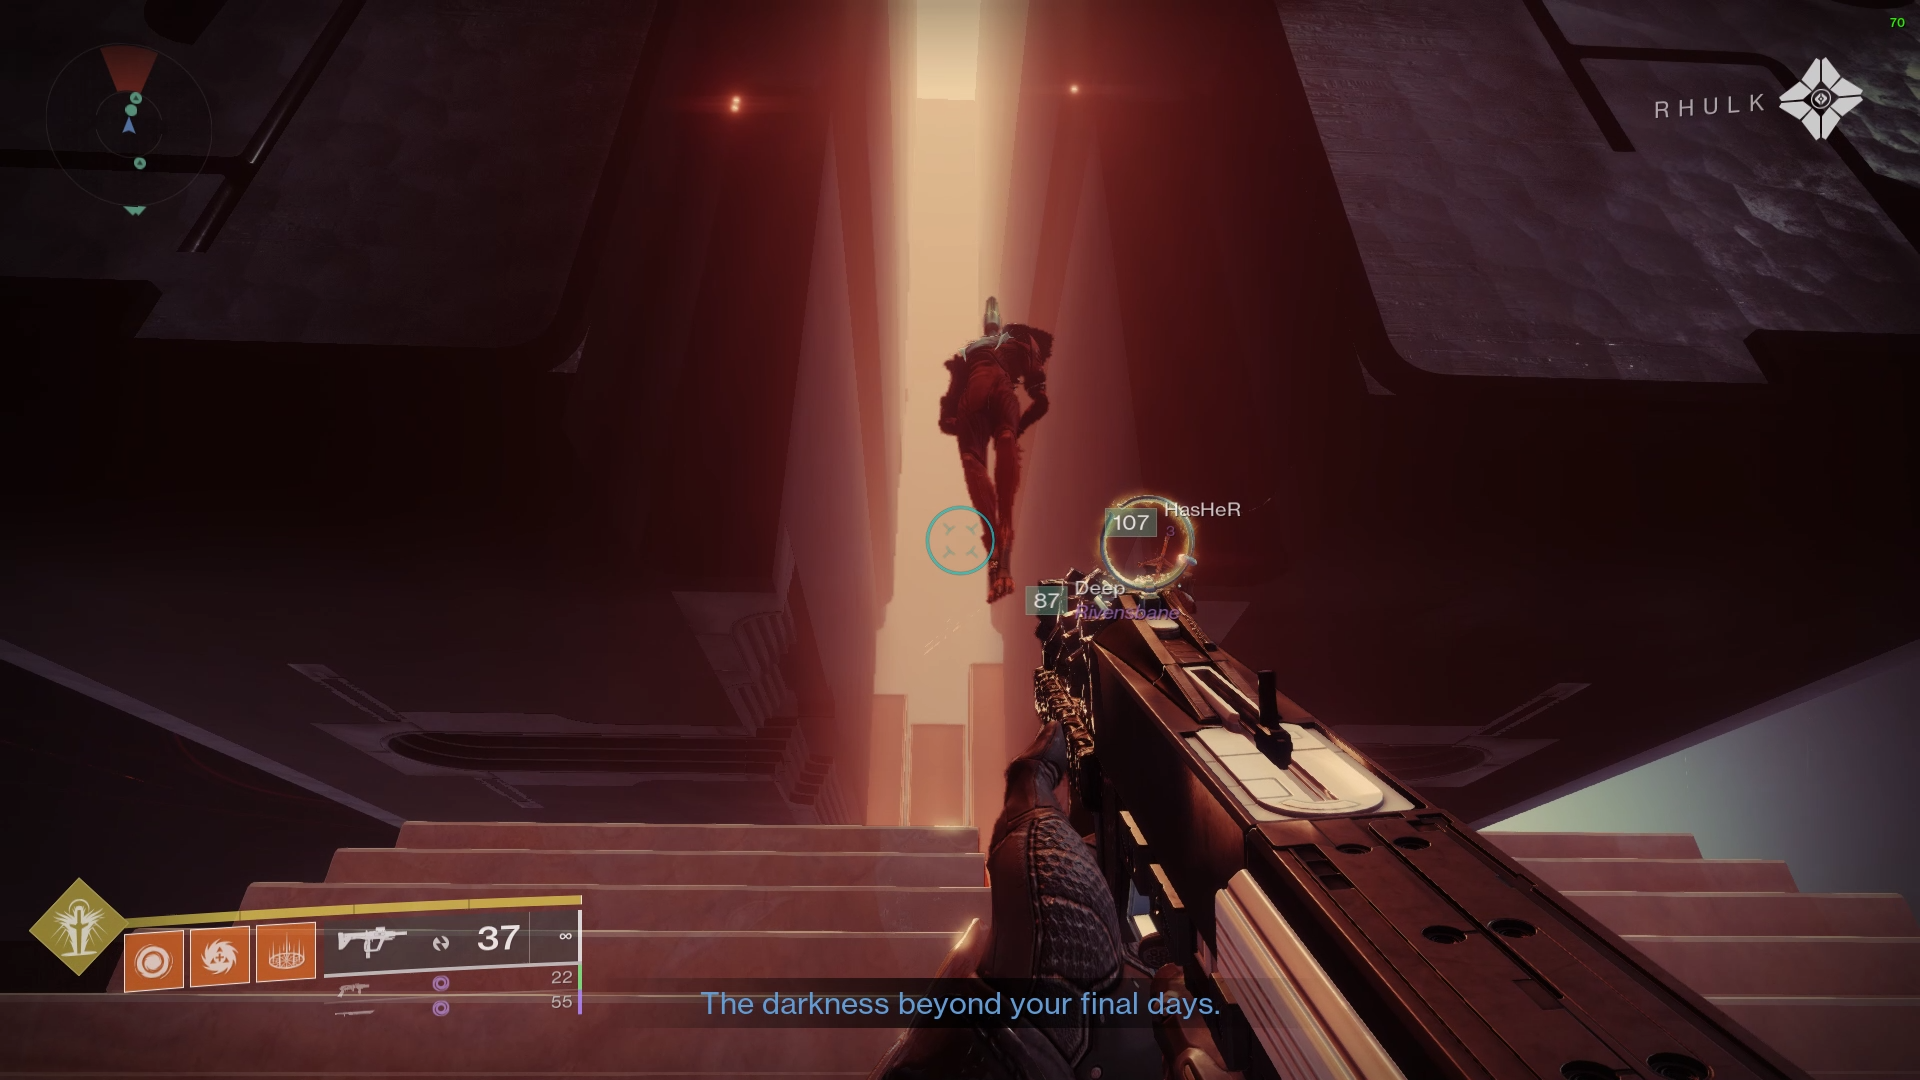
ACQUISITION
Within Savathun’s Throne World, there is a location known as Acquisition. This is an elegant puzzle that need close coordination and quick communication.
Setting Up
The fight takes place in a huge museum room within the Pyramid. There are three Obelisks in this chamber: south (by the entranceway where you begin), east, and west. Each Obelisk also has its own Pillar, which will display important symbols.
Around the chamber, you’ll find nine temples in various locations: Worship (south), Drink (north), Stop (west), Communing (east), Grieve (west), Knowledge (north), Kill (east), Give (south). Before you begin, walk around with your team and ensure that each member is familiar with the temples.

Create three groups of two and have each group take an Obelisk and Pillar.
Finally, if you look to the room’s center, just below the enormous bone, you’ll notice that the Traveler sign is on the east side and the Pyramid symbol is on the west. Keep in mind that it will be useful going forward.
Encounter
It’s straightforward once you know what you’re doing, but learning it might be a little tough.
Each team will have a defender and a runner. The defender will read the pillar and communicate with their runner, while the runner will enter temples and defeat Scorn bosses. Runners should use Gjallarhorn, while defenders should utilize Unstoppable.
To begin the fight, fire the crux to the north of the chamber (beneath the bone). This item is a toggle that opens and closes various temple doors. Runners may need to call for help from allies in order to shoot the crux during the encounter in order for them to be let out of a temple or allowed in.
When foes begin to appear, one of the pillars in the room will have a Traveller or Pyramid symbol at its peak. (You can only read a Pillar if you are very near it.)Otherwise, it appears blank, suggesting that cheating from across the room is not an option. This indicates the location of the first Compass Knight. If it’s a Traveler, the Knight is on the east side of the room, while a Pyramid sign indicates the west side. The Knight must be killed, Send one player from the east, west, or south team to track and kill the Knight.
When the Compass Knight is slain, a distinct icon will appear on the first Pillar, and a new Knight will emerge somewhere else (illuminating the first symbol on a second Pillar). The second symbol will be a temple in the room. The pillar’s runner will have to enter the matching temple while their defender protects the Obelisk and hunts Knights.
In the temple, two enormous Scorn Glyphkeepers may be seen on opposing sides of the room: one on the Light side and one on the Darkness side (indicated by symbols on the wall). Kill both of them to be safe, and beware of the Screeb that will appear as well. One of the 27 symbols will appear above their heads after the Glyphkeepers are slain. The runner’s matching defender will also have a third symbol on their pillar: Light or Darkness. The Light or the Dark must be communicated to their runner, who will then remember or write down the symbol that fell from the corresponding Glyphkeeper in their temple before returning to their Obelisk.
All three Obelisk runners will receive a symbol through the process. When all three symbols (for example: Love, Worm, and Earth) are revealed on the pillar, players must search each Obelisk to see which one has all three written on its exterior. Each Obelisk has nine buttons (three on each side) that contain symbols. Only one of the Obelisks will contain all three symbols, and they must be shot individually. After locating the proper Obelisk, players must quickly shoot the three symbols to complete the ritual. If performed correctly, the Obelisk will accept the offering.
Shooting the symbols in this and future encounters may be a bit difficult. To get the best results, make sure your teammates keep shooting the symbols constantly so they don’t deactivate. Because of this, our team drove each of the six players to the Obelisk in question to ensure that at least one Guardian was shooting each of the three symbols.
Repeat it three times to complete the ritual and the battle.
You might be wondering, “What are defenders doing the whole time?” They’re defending the Obelisk and assisting in the killing of Knights, which are two crucial tasks that aren’t really hard to figure out. The Obelisks are constantly filling with energy in this encounter, and when they’re full, it wipes and kills everyone. When the Obelisks are damaged by the continuously spawning Scorn, they charge energy even more rapidly.
The Obelisks are drained by completing an offering, although the death of Glyphkeepers does the same. As long as you move fast, defend the Obelisks from the Scorn, kill Glyphkeepers at a constant rate, and don’t input the wrong symbols into the Obelisks, you shouldn’t have any problems with this mechanism.
DON’T INTERRUPT THE CARETAKER
The Caretaker’s battle is considerably simpler to explain than Acquisition. There are four floors in this enormous room, and a really large Scorn who doesn’t want you rummaging through his museum. On each level is a dark room, an Obelisk, and three plates. If the Caretaker reaches the Obelisk or you take too long, it will explode, killing everyone. However, you and your raiding party may avoid this tragedy by stopping it before it happens.
Setup
You’ll be dividing into three groups of two once more, but this time each team will have a unique assignment to perform.
- Runners
The runners are the most important participants in the encounter. You’ll be shooting a crux to open the back of the chamber (and begin the fight) before venturing into the dark room to collect symbol buffs scattered around inside. You’ll need to remember your signs, and up to three may be collected at a time. Once you’ve gathered all three, have an ally open the door for you and return on back to the Obelisk. Shoot the three symbols you collected when the Obelisk asks for them by name.
After the Obelisk has accepted your signals, take a break and assist in combat while the other runner goes inside. (Make sure to open the door for them.)
This is where things get a little tough. You’ll obtain Pervading Darkness while in the room, so you must move fast. There are also traps in the room, Wizards with a lot of health who will absolutely ruin your day if you come too close. The game is the same as the original. You are given three symbols at random, pick only one or two instead of three which might be beneficial if you believe you will die.
When you’ve deposited 9 symbols and cleared the Obelisk, the damage phase will begin. Scroll down a bit to learn more about it.
- Stunners
In this encounter, the Stunners are in charge of the most fun and dangerous position. The Caretaker will start moving towards the Obelisk as soon as runners enter in their room. You’ll need to stun him to prevent him from moving.
One in front of the Caretaker and one behind him. Have the player in front run up to the Caretaker’s knees, which will enrage him. He’ll stamp the ground when he’s enraged, injuring anybody who gets too close.
His face will glow when he gets angry. When he’s staggering, shoot him (ideally with a heavy machine gun). For a second, his back will open. The player following behind them can then blast his back, which makes the Caretaker fall over for several seconds and stop moving.
If you anger the Caretaker, It will give you a debuff “Caretaker’s Gaze” and the boss will ignore you until it fades. If you make a mistake, rather than making him furious, try it with another player. If you or your teammates are quick enough, you can actually stagger the Caretaker by firing his face before he stomps, allowing you to just stay under him throughout the battle.
Continue the procedure until your runners have deposited all nine symbols, keeping the Caretaker as far away from the Obelisk as feasible.
- Add-Clear
There’s a lot of work to be done in this position, as it is absolutely vital. As other teams complete their tasks, enemies will appear in the room. The duo simply has to eliminate the foes so that his teammates can concentrate on the mission at hand. When clear they will also assist in stunning the Caretaker if they notice it’s open back or input codes with runners. If you’re an add clear player, you should study what each other team does.
Repeat this till all nine symbols on the obelisk are done.
Damage Phase
When all nine symbols are in, the Caretaker will charge toward the top platform. Go to whatever side he’s approaching from and stand on the big silver plate. It will eventually glow, allowing you to harm him for a short time. Continue to cycle between the various floors until your plate begins to fade (the HUD will notify you when this happens). Once that one is gone, move on to the third plate on that floor.
When the third plate is gone or you’ve dealt enough damage (the Caretaker has a health gate, so you can only do so much before he just leaves), he’ll rise. Stairs will plummet when the Caretaker moves, allowing you and your fireteam to advance to the next floor.
After that, you must repeat everything in a new setting. The dark room is more difficult, as is the route taken by the Caretaker. There will be more foes (including snipers who like to shoot your stunners just before the Caretaker stomps) on both sides. After blowing up the boss a second time, you’ll move on to a third floor. Then, after another full stage, you’ll go to the fourth and final for his last stand.
The final stand is a long corridor with three plates in a row. Stand on the first plate and fire at the boss until it vanishes. Then move to the next one, and so on. If you kill the boss before the last plate fades, you will win. If not, he will kill you; you must restart from scratch.
THE UPENDED SUMMIT
The simplest fight in this article to explain is the Exhibition or The Upended encounter, but it’s more about execution than strategy.
The objective is to reach the final area before a debuff called Terminal Resonance expires, instantly killing all party members. You’ll require the assistance of some old relics from the Pyramid’s collection to accomplish it.
There are three relics in this battle, and you’ll need to use each one at various times.
- Pyramid Laser — Used for killing Taken Knights
- Templar Shield — Used for cleansing allies
- Eye of Riven — Used to destroy Taken orbs
In the Exhibition encounter, you’ll face four rooms (that’s the area this encounter is located in, but it’s actually known as the Upended Summit in the Triumph tab). You’ll do the same thing in each room, but it will become more challenging as you proceed.
The first room simply has the Pyramid Laser. One player should pick it up and begin the encounter. Once you’ve acquired the relic, the Terminal Resonance debuff will begin counting down from 1 minute and 15 seconds.
In the center of the chamber is a Taken Knight with a shield. The relic holder should kill this knight while their allies killed the Scorn and Taken Glyphkeeper on the right and left sides of the room.
When the Glyphkeepers fall in this fight, they will drop symbols in the same manner as previous encounters. However, there is a twist: The relic holder (any relic) will be the only player able to view the Taken Glyphkeeper symbols, and they will not be able to see the Scorn Glyphkeeper symbols.
Remember the relic holder’s call out and have one non-relic holder announce their three symbols. One symbol will match among the six. Determine the matching symbol and then fire on the large wall in front of you. The door will open if you select the right one. Put your relic in the empty spot to reset the timer.
This is how you’ll be fighting for the remainder of the encounter, but there are a few things to consider:
- You’ll need two matching symbols to unlock the end door in the second chamber and on. For each room, you’ll need two pairs of Glyphkeepers, for a total of four per room.
- After a pair of Glyphkeepers are slain, the Taken Knight (which adds time) might appear. Each room may have up to two, and they should be the only target of interest for the Pyramid Laser user.
- Each Relic Holder must change from room to room, as relics are required to be deposited to unlock the door and dropping one in any location causes a debuff that prevents a player from acquiring another for 30 seconds. Assign specific players to each relic in each area.
- Overload Champions will start appearing in the second room. You don’t have to eliminate them, but it’s a good idea.
- The second chamber features the Pervading Darkness debuff. The Templar Shield player should move close and cleanse their teammates.
- The third room contains Taken balls that makes foes immune. To destroy the Taken Orb, use the Eye of Riven’s grenade button.
- Screebs spawn between rooms, so be careful not to walk into one blindly.
- The fourth room is full of pits, so take your time and jump carefully — most of the time fails here happen because of rushed play rather than the timer. If a relic falls into a pit, it will resurface in the former break room.
This encounter is tough to grasp because you won’t know where the enemies will appear until you’ve killed a bunch of them. You’ll need to play it several times before really understanding it and learning where they spawn. We recommend giving it a shot after reading this, as well as taking another look at the guide right away once you see it.
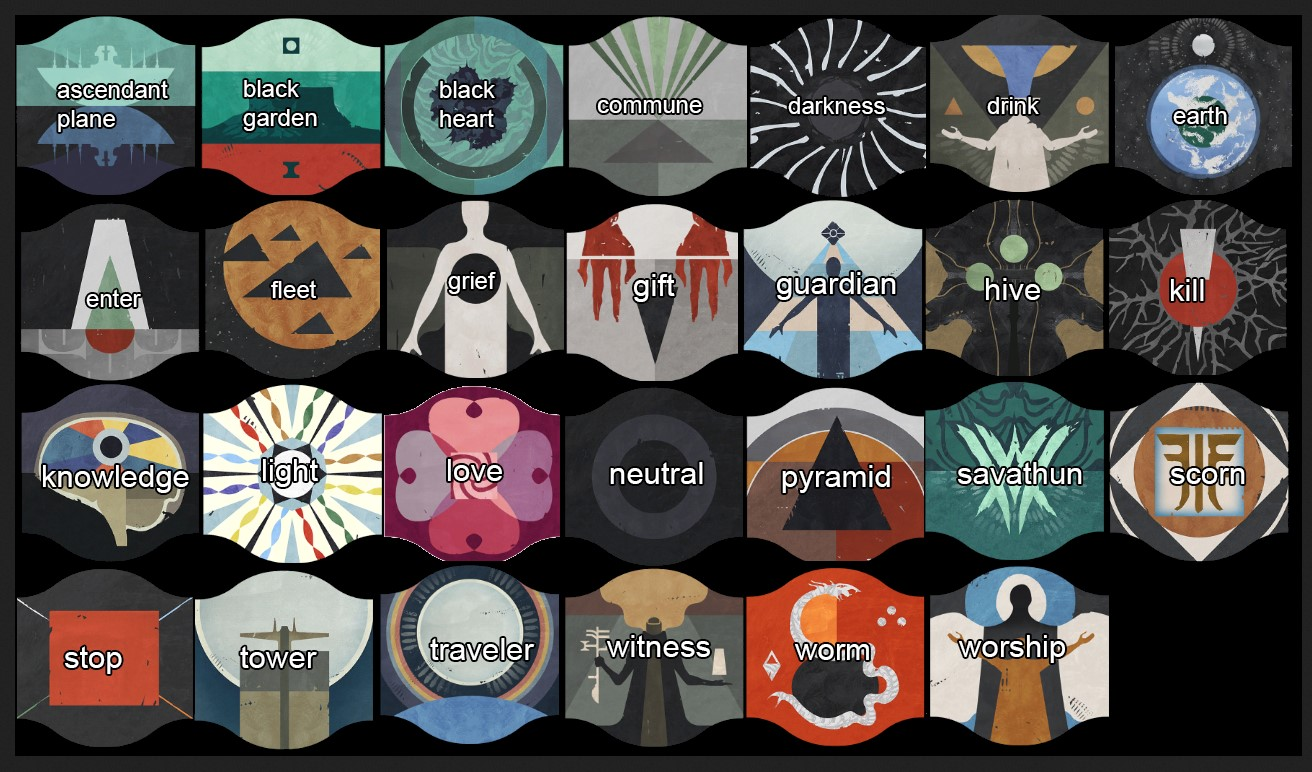
DROWNDROWNDROWN – Final Encounter
Welcome to Rhulk, the Vow of the Disciple’s final boss and perhaps the most aesthetically pleasing ever seen in a video game.
This boss isn’t as difficult as previous raid bosses when viewed in terms of mechanics. We’ll be using the callouts labeled on the map below.
Run to the front of the area to bring forth Rhulk, who will emerge from a Darkness shard and stand in the rear of the chamber. Run forward once he’s arrived to begin the encounter for real.
Rhulk will utilize his two most powerful attacks right away.
- He’ll first create a shield with his glaive. If you try to go too far ahead, you’ll hit his orange barrier and be pushed back. He’ll throw you off the map if you leap into it too violently or at an odd angle, so take care.
- The second mechanic is that he’ll create a huge shard above his head.
The objective is to acquire a unique buff that allows you into his shield and then push back the shield for your teammates. Let’s look at how to do it.
Symbols…Again
Everyone in the group will begin to acquire Pervading Darkness as soon as Rhulk casts the shard. Choose one player to destroy the crystal as quickly as possible. When the crystal is destroyed, Pervading Darkness will end, and the player who destroyed it will receive a new buff: Leeching Force.
By using Leeching Force, the player can absorb a laser beam assault from the boss, turning it into Emanating Force. However, when no one has a Leeching Force buff, the boss will cast a new crystal. The third time he creates one of these crystals without him entering a damage phase first, it will be immune and wipe all players. Unfortunately, you’ll need six Emanating Force buffs before that occurs. How to do it?
Instead of the first player who draws Leeching Force attempting to obtain Emanating Force, they should instead stand on the Leeching Base, which is the enormous Gift symbol at the rear of the chamber. Stand on the symbol with Leeching Force and two more crystals will appear to the left and right of Rhulk. If two players shoot the crystals, the original player loses Leeching Force and the crystal destroyers receive it. Now you’ve two Leeching Force buffs instead of one. (You’re cutting one buff into two.)
Take out one of the two Leeching Force players to acquire the Emanating Force. When the boss teleports to one side of the arena (or middle), have everyone else fall back, but have the chosen player stand in front of Rhulk. The boss will fire a massive laser beam at you. Unless you have Leeching Force, this will deal significant damage to any players caught within the beam. It’ll turn Leeching Force into Emanating Force if the beam strikes the chosen player.
The Pillars…Again
Players may utilize Emanating Force to do a variety of things. First, it lets players to freely walk about inside the barrier. Second, players can deposit Emanating Force into one of the six pillars in the boss’s arena. Rhulk’s shield will be pushed back if you deposit into the correct pillar. However, both Leeching and Emanating Force have timers on them. If you don’t move fast enough and buff times out, you will die.
How do you figure out which pillar to dunk Emanating Force into? Glyphkeepers are the answer. In the arena, a group of adds and two Glyphkeepers will appear. Eliminate both of them, and two sets of three symbols will appear on each side of the room.
Only certain players will be able to view some symbols, just as they were in the prior fight. The left symbols will only be visible to players with a Force buff, while non-buff characters will see both the right symbol and the six pillars symbols. Like the last fight, players must choose the matching symbol among the two sides. A non-buffed player must call out which of the six pillars (there should be two at once) has the matching symbol after a player identifies the matching symbol. The player must dunk their buff into one of the specified pillars when the Emanating Force is active. Rhulk will retract his shield if this is done successfully. If not, the dunker will die.
While this is happening, The second player with Leeching Force (who should be avoiding Rhulk’s laser like everyone else), will go to the Leeching Base and split again, giving two new players to Leeching Force. Both players may now convert their Leeching Force into Emanating Force and dunk their buff. The symbols will remain the same (though they’ll move to the pillar) and won’t reset until Rhulk makes another crystal.
Rhulk will have pulled his shield back halfway with three dunks. Reset the match like it’s starting over, and repeat the process. Keep in mind that foes will now spawn farther away.
Rhulk will move to the higher platform after you’ve made six deposits. He’ll then call you up for damage.
DAMAGE TIME
The first half of this battle isn’t particularly hazardous, but Rhulk can and will kill you in the damage phase.
Choose a player to run around and distract Rhulk by shooting him when you get to his platform. Rhulk will usually choose to follow this player to attack them.
During this phase, there are a few attacks from Rhulk.
- He’ll proceed forward with his glaive and demolish anything in his path. This has a distinct tell, but it’s fast, so keep an eye on it.
- He’ll fire laser beams in four directions.
- He will kick you to death if you get close to him (believe me, it’s funny as long as it doesn’t happen to you).
We’ll be calling the period just before Rhulk is destroyed “damage phase,” although he is actually still immune during this time. To lower his shield, you must perform the same technique as previously. When Rhulk dashes, he leaves his glaive behind. Choose a player to attack and destroy the target. That player will receive Leeching Force and the glaive will leave behind a symbol that only non-buffed players can see. Have someone notify the Leeching Force player of the symbol.
Only four symbols appear in this section: Darkness, Pyramid, Light, and Traveler. These represent the four corner pillars of this tiny arena. After the Leeching Force player has tanked a laser from Rhulk, they must dunk their Emanating Force buff in the called symbol’s corner.
Doing it right will create a weakpoint on Rhulk, which everyone will need to shoot and destroy. Repeat this process four times (either with four different players or the same one) to smash four weakpoints. If you take too long, Rhulk will bend down and begin to construct a shield. If you don’t make it all the way back to the leeching base by the time he finishes, he’ll launch you into outer space.
When you’ve destroyed four weakpoints, Rhulk will go from playing with you to truly infuriated. He’ll pause for a second then his frills flare up near the neck. He’ll be walking towards players and using his abilities at a rapid rate. However, he will be damageable.
For damage, we recommend having a Divinity player on your team as it will make damaging him much simpler. Use a linear fusion rifle or a sniper gun to aim for his head (or the Divinity bubble, if you have one), and utilize high-damage supers like Tether or Thundercrash while he’s standing still. Rockets, on the other hand, are unreliable because they have a limited supply of ammo and are difficult to strike.
Rhulk will calm down, become immune, and begin to form his shield after you’ve chased him about for a while. Return to the beginning of the fight and start again. To get Rhulk’s health down to that little mark near the tail end, you can do all of this three times. He’ll generate a shield so huge that you won’t be able to flee it if you don’t reach final stand by the end of the third damage phase.
When you reach the pip, he’ll start his final stand. All that happens here is that he’ll keep following you around for a while longer. However, he’ll also start impacting players with Pervading Darkness. You must kill him before you reach ten stacks or you will all perish and have to begin again from the beginning. If you’ve acquired any armor in the raid yet, this is an excellent time to use the Umbral Sharpening mod, which improves your damage while under the influence of Pervading Darkness.
If you kill him before he kills you, you’ll finish the raid and be able to buy any items you’ve already obtained from the raid by utilizing his glaive. Congratulations on eliminating just one of The Witness’ numerous disciples!
For More Such Post Click Here

